Vintage Mac Antics
What have I gotten myself into?
 Toolbox Toolbox |
October 22, 2023 |
So I got my hands on some vintage macintosh machines recently. A Macintosh SE and a Macintosh Plus. I haven't checked out the SE quite yet, so this post I'll mainly be discussing the Plus. I've picked up both for pretty cheap, in untested condition without accesories.
Please note before reading any further, DO NOT ATTEMPT TO OPEN OR FIX THESE THINGS WITHOUT DOING SOME RESEARCH FIRST! These things have built-in CRT monitors, which can hold extremely high voltages that can KILL YOU! They call it the "flyback" transformer for a reason.
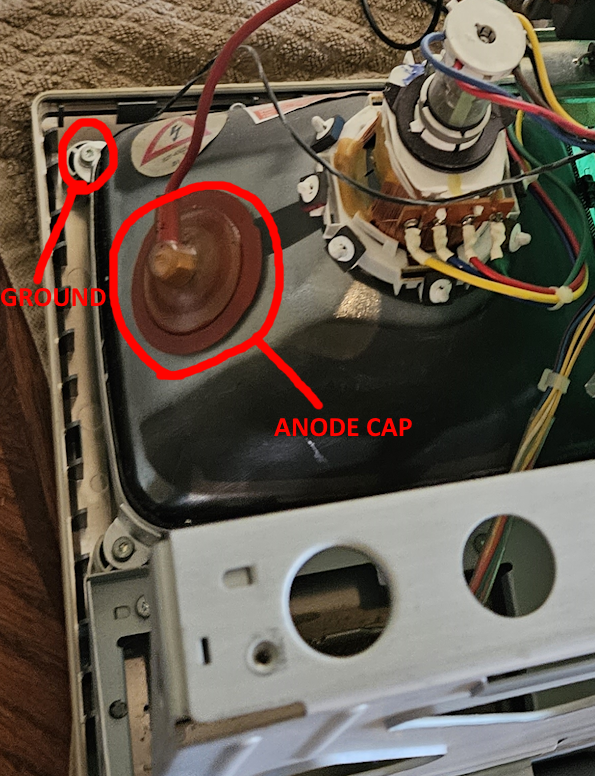
That being said, I don't want to discourage working on old Macs. Please just be careful before doing so. ALWAYS discharge the CRT before touching anything in the unit, and ensure that it's not plugged in to the wall outlet. There are many videos online which show how to do this. You'll want to ground your discharging tool to the metal chassis, then use the metal end of your tool to get under the anode cap and poke the metal prongs. You'll likely hear and see a spark, which is normal. In fact, you'll want to see this as it will visually confirm that the CRT has been discharged.
Don't touch anything on the mac while doing this! Keep your hand on the insulated handle of your tool, with your other arm behind your back. Having someone else nearby to kick you away from the machine and call emergency services is also a good safety measure to follow, in case of electrocution. I also like to test the continuity of my discharging tool with a multimeter before using it, just to 100% confirm that it is still capable of discharging the CRT.
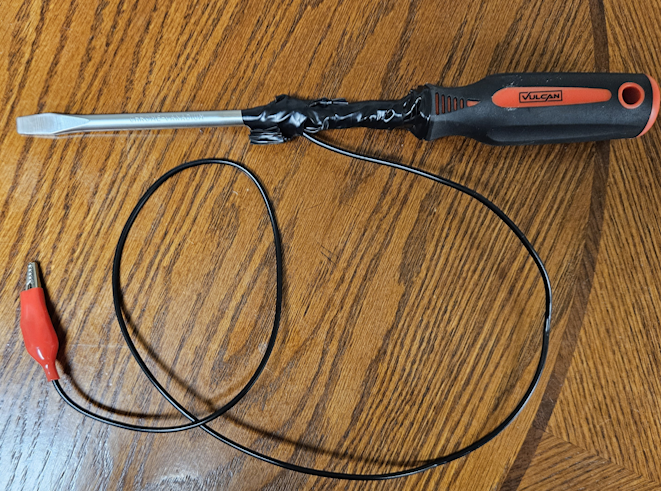
I rigged my own discharging tool using a long-shafted screwsdriver with an insulated handle. I wrapped a wire around the metal shaft, and attached an alligator clip to the other end of the wire so that I could ground my tool to the Mac's metal chassis.
Before attempting to turn the thing on, I inspected the inside of the machine. Admittedly, I did a big stupid and didn't discharge the CRT before touching things. Luckily the CRT was discharged and I didn't die an electrifying death. I believed that the CRT had already been long-discharged as the unit was untested, which happened to be true. In hindsight, it's very foolish to act on such assumptions. It's better to be safe than sorry, not worth the risk.
Before messing with the analog board (the power supply board which provides power to the computer and the CRT), I disconnected the 800k floppy drive from the logic board and the analog board from the logic board. The logic board just slides out (there are no screws holding it down). Once the logic board is removed, the floppy enclosure can be unscrewed from below. I'll get to the floppy drive later, but first I wanted to make sure that the Mac was safe to turn on.
The logic board was pretty dusty. It probably hadn't been freed from its plastic prison in many years. I removed the ram modules from the extremely brittle memory slots. One of the latches had already broken on one side of a slot, and I'm sad to say that I broke another latch on a different slot (despite my attempts to be gentle). While this sucks, the system hasn't shown any memory issues caused by a poorly seated connection (although I can't fully test this yet, more on that later).
After removing the ram modules, I very gently rinsed the board under luke-warm water with dish soap using a toothbrush. While I'm not 100% certain, I feel that having extremely hot water could damage the board and components, but the warm water is essential for removing any grime. Of course, I let this board dry for several days before testing. This amount of time is overkill of course, but it's because I was waiting for capacitors in the mail so it worked out well.
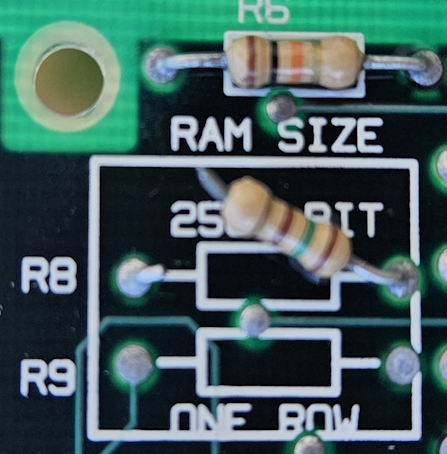
While cleaning the board I did notice a cut resistor. At first I was worried that I had damaged the resistor during the cleaning process, but after doing some research on that particular resistor I learned that it was necessary to disconnect the resistor in order to upgrade your memory. Interesting way of doing it. I wasn't present for the paleolithic era of computing so I don't know if this was common place in computers at the time or not.
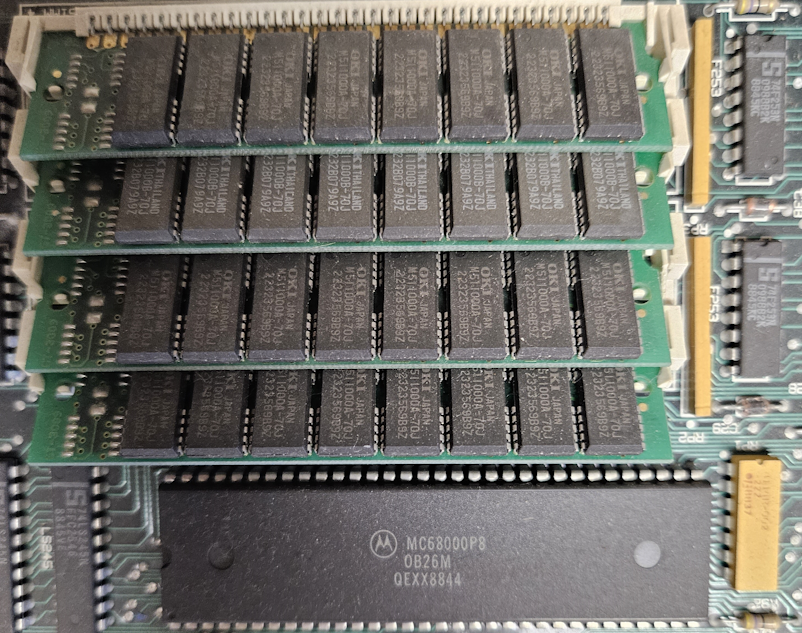
This means that the memory has likely been expanded, but the modules are unmarked so I have no idea how much it has been expanded. 4mb is a theoretical amount that I've pulled out of my ass. I won't know for sure unless I check in the system software.
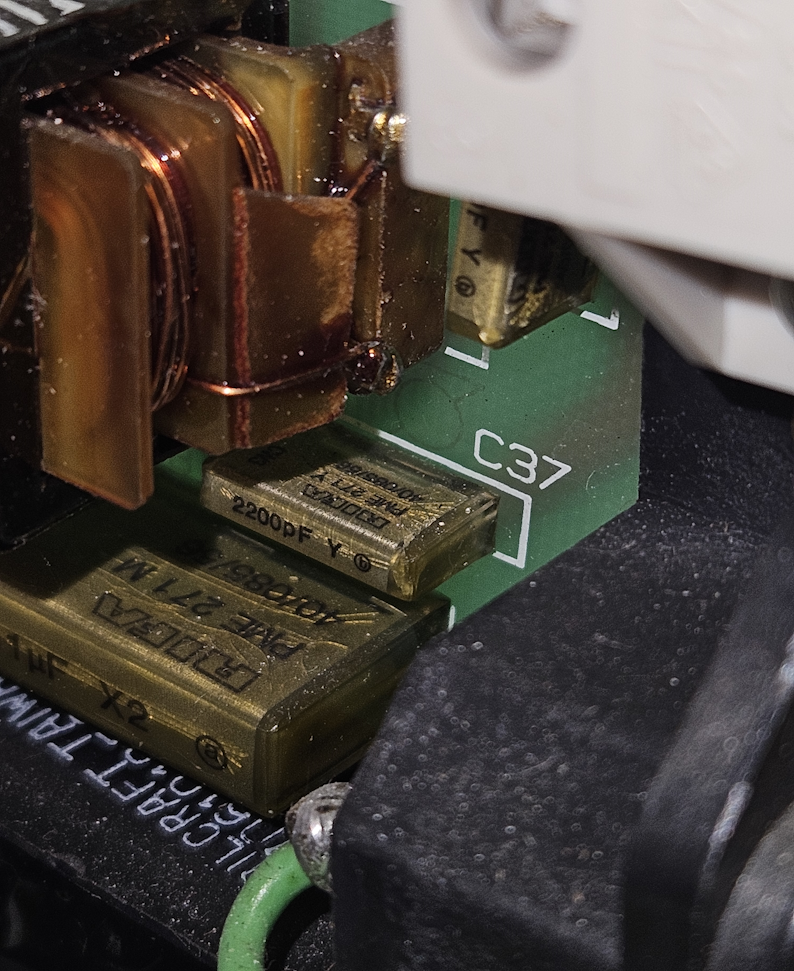
While I should probably replace every capacitor on the analog board at some point, none of them were bulging or appeared to be damaged. I did replace the safety capacitors, as most of the resources that I've seen online mentioned that the old metal-foil RIFA filter capacitors tend to be faulty and release "magic smoke". I also reflowed the solder joints which connect vital components of the CRT (the flyback, CRT itself, deflection yoke) as well as the connector joints for the cable that connects the analog board to the logic board. Appearantly these solder joints are a very common point of failure in old macs, so I figured that I should do it while I was there.
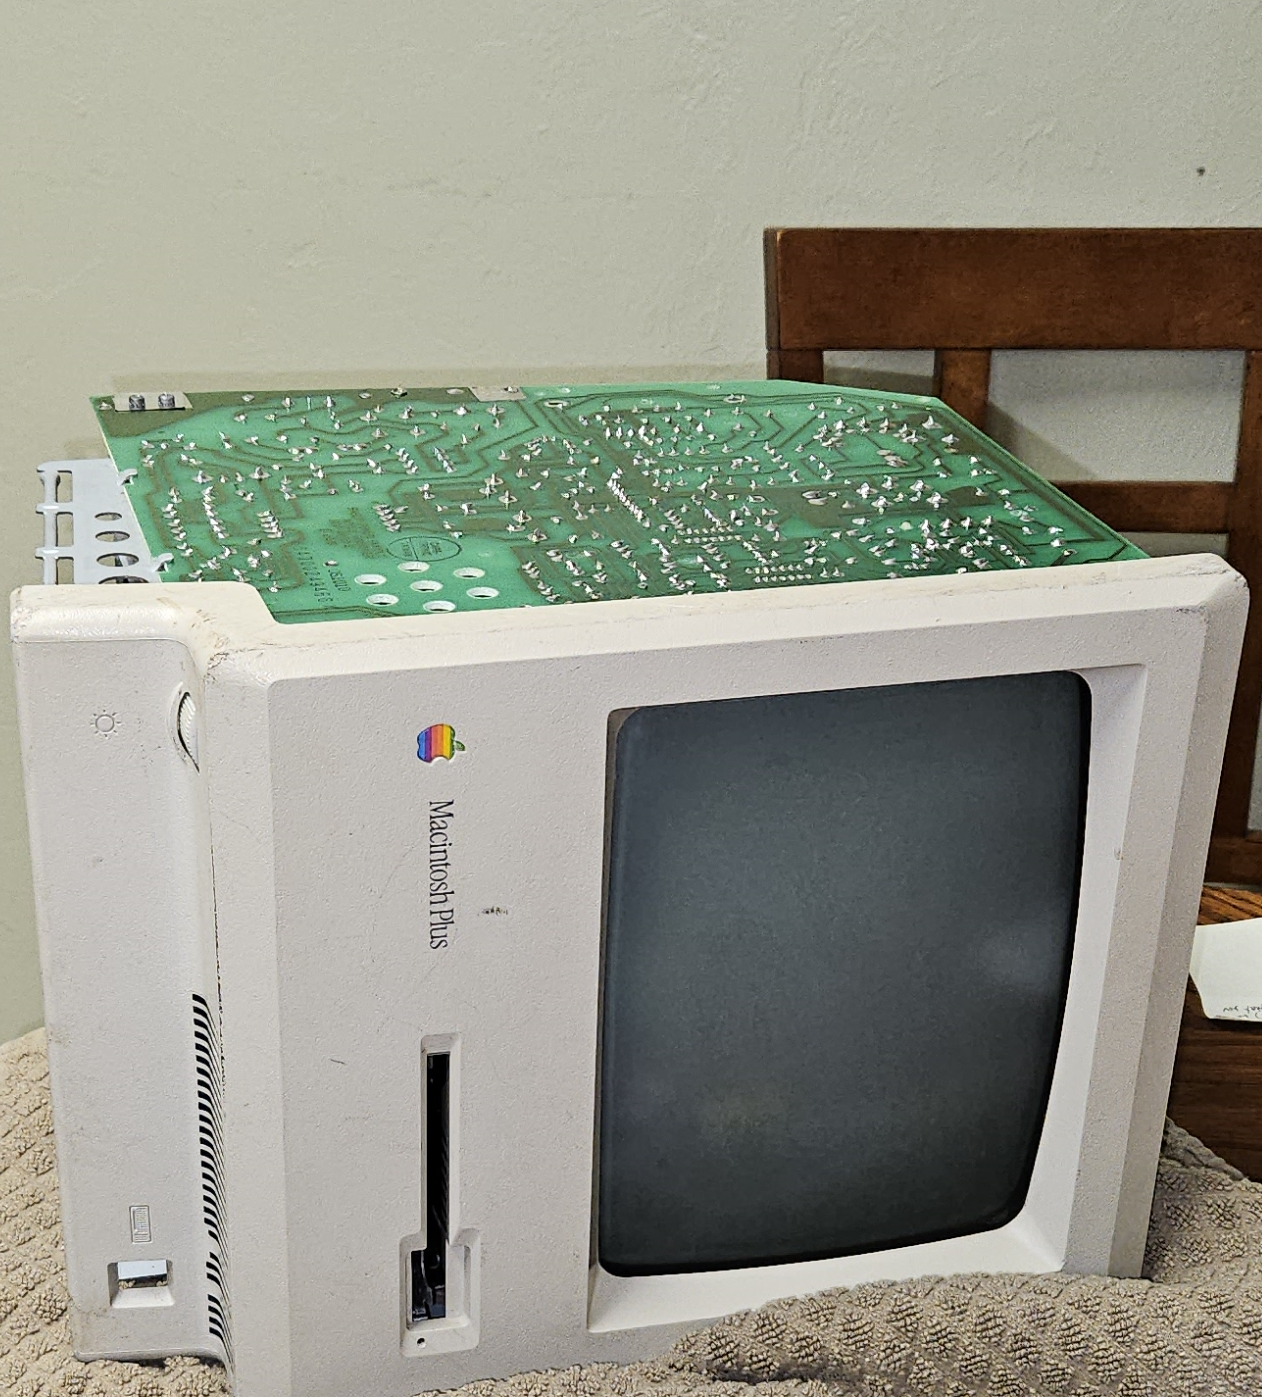
I found that laying the Mac on it's side, to where the solder joints on the analog board are facing upwards, worked best for me. Try not to apply too much pressure to the unsupported regions of the board and you'll be fine. Although I was just kinda being lazy. It would be best to fully remove the board before working on it.
With the logic board cleaned and the analog board partially refurbished, I figured that it was time for the first test.
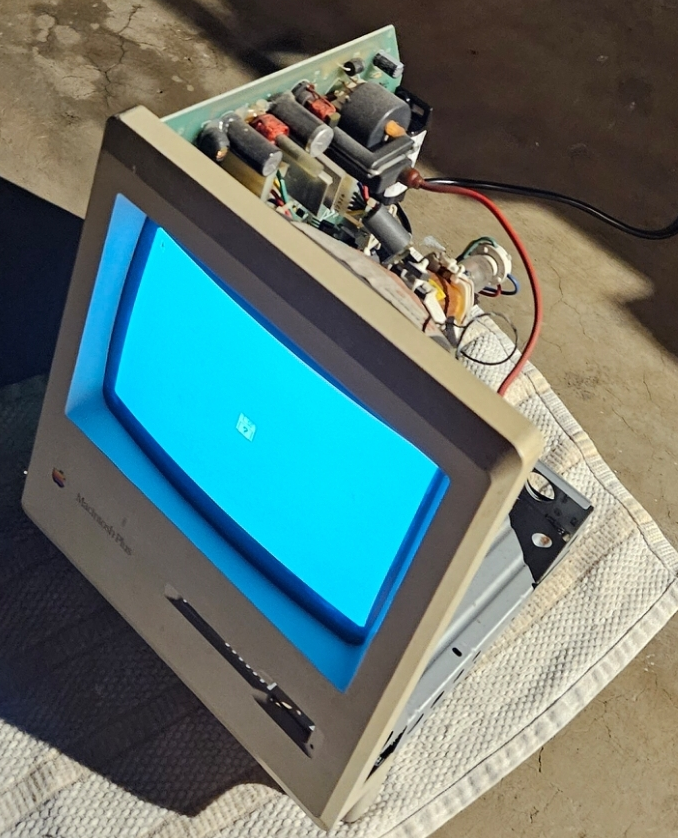
For the first test, I decided to power on the machine outside. I didn't want to risk starting a fire or something inside of my house, so I went outside onto some concrete just in case. Luckilly, the mac didn't catch fire. It sang its signature chime and began to do its thing.
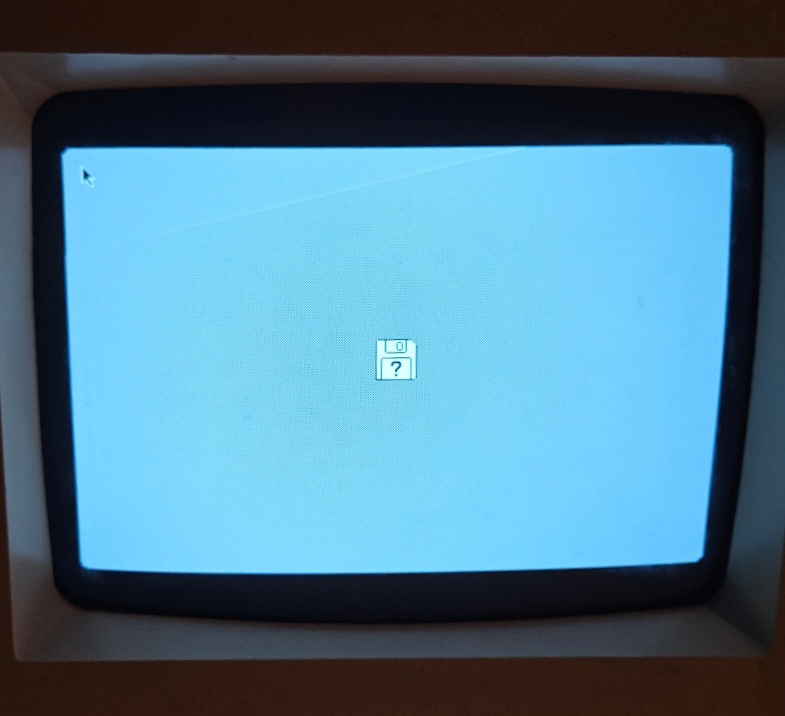
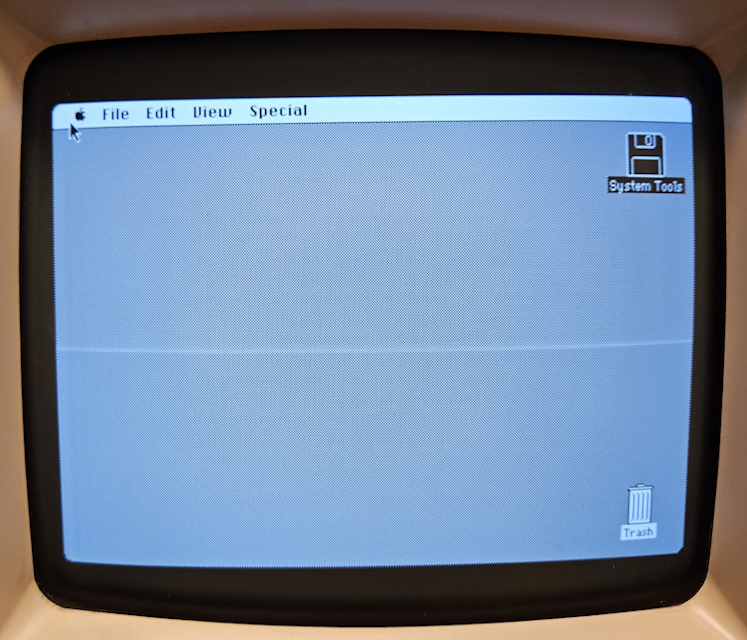
I didn't have a system disk to boot into yet, not that I even had the floppy drive hooked up anyways. I was worried at first, as the screen was just gray for an extended period of time. I fiddled with the brightness adjustment wheel, which just made the gray lighter or darker.
At this point, I was happy that the machine turned on, but I began to wonder why nothing was appearing on screen. Before continuing that thought, the machine then prompted me to insert the system disk with the blinking question mark floppy disk icon.
At this point, seeing that machine could power on and ask me for things pushed me forward to the next step: interacting with the computer.
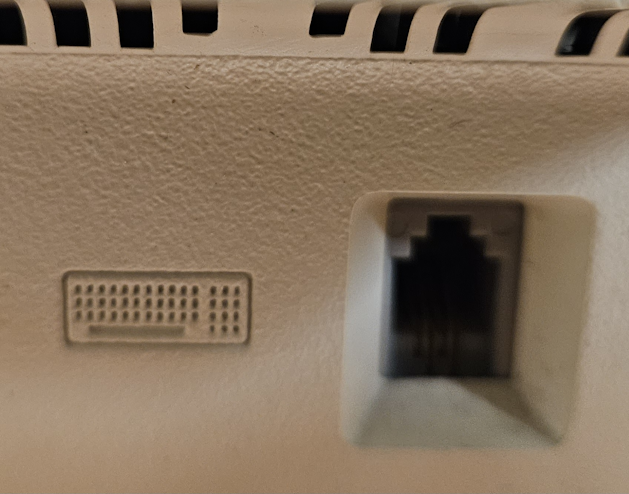
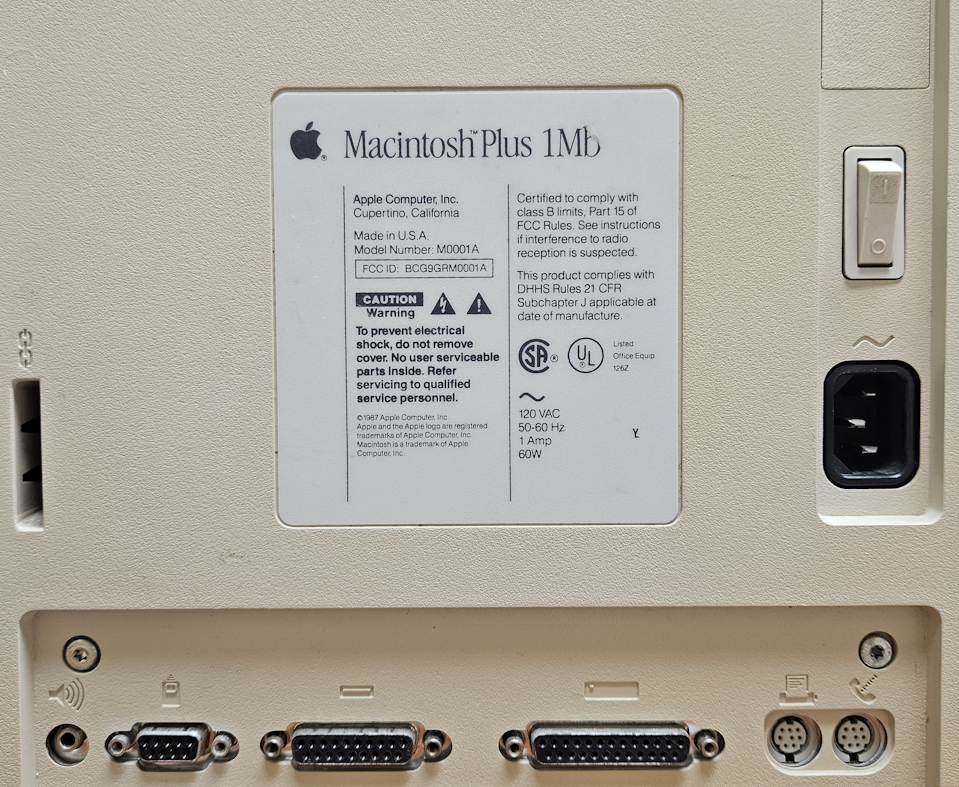
I needed to find a keyboard, mouse, and a system boot disk. I didn't have any luck searching locally, so I decided to venture online. This is when I learned that vintage mac keyboards and mice are extremely expensive, and that there is an alternative where you can build a PS/2 keyboard adapter for the Mac's weird phone-jack keyboard connector. I'll probably end up going this route.
Fun fact about the keyboard connector is that, despite looking like a regular phone jack, it has a different pinout. This means that if you try to use a regular phone line to connect an original Apple keyboard, it can just fry your keyboard. Ah, proprietary connectors. Classic Apple.
For the time being, I decided to get a mouse so that I could navigate the mac and view the system specs. I also ordered some reproduction system disks to boot with. I would write my own, as a I have a functioning 1.44mb floppy drive. However, the Macintosh Plus has an 800K dual-sided floppy drive, which isn't compatible with 1.44mb diskettes.
I decided to go with System 6, as I felt that the Mac plus probably couldn't handle or properly utilize System 7's multi tasking capabilities. I think that it's technically able to run it, but not very well.
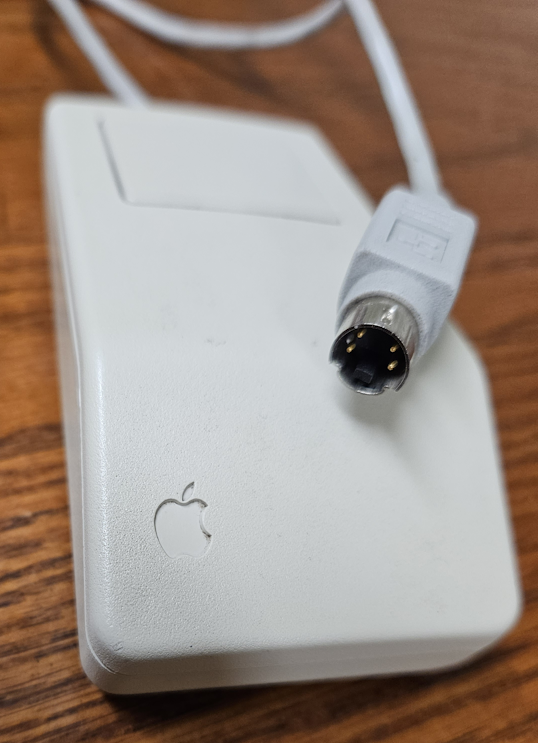
The mouse eventually arrived in the mail, and I was quickly disappointed by my own stupidity. The mouse that I had ordered used Apple's "ADB" connector (Apple Desktop Bus), which was a standard that they decided to use starting with the Mac SE. At least I now have the correct mouse for when I decide to mess with my Mac SE.
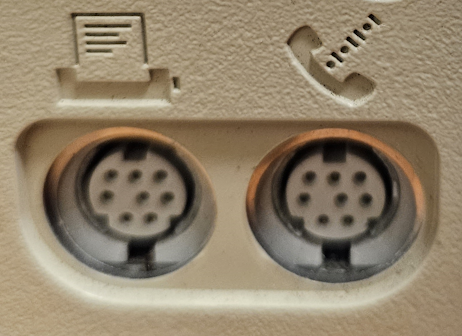
I don't know why I thought that the Mac Plus was compatible with this mouse. The connection is literally just an S-Video connector with different pinouts, which I guess looks similar to the modem port on the back of the Mac Plus. For mice, the Mac Plus uses a more standard looking DE-9 connector, which looks like the Sega Genesis or Atari controller ports. I'm sure the pinouts are different though. I might be able to use other 9-pin mice from the era, but I am doubtful of this knowing Apple.
I thought that I might be able to make my own adapter by matching the pinouts using a salvaged S-Video port from an old VCR and an extra 9-pin connector that I have laying around, however the method that the ADB standard uses for tracking mouse inputs is different from the older 9-pin, so I might have to get an arduino involved similarly to the keyboard adapter that I mentioned earlier.
I didn't even bother testing the floppy drive, because I just knew that shit would be grimey as hell. It wasn't the dirtiest media drive I've seen, but the 30+ year old lubrication was definitely gummed up. I cleaned the heads and replaced the old lubrication with some fresh white silicone grease. The drive is able to read and the mechanism moves smoothly, but the eject motor is funky and only works when it wants to. While I don't have a mouse to eject the disk through software, the Mac is supposed to spit out disks that it can't boot from during startup, which is how I tested the automatic ejection. That's right; the only way to eject your floppy disk is to do so through the OS, or by jamming something into the manual eject hole.

It's very common for the gears inside of the motor's gearbox to disintegrate into dust, and it definitely needs some oil. None of the gears had disintegrated in my drive, but I'm sure that they will eventually (especially the more I use it). I plan to replace the gears and oil it once I get what I need for it. For the time being, I can just manually eject the drive.
In its current state, my Macintosh Plus is able to read floppies and boot, but I am unaware of the rest of its condition. I don't have a mouse or keyboard that I can use to view the system specs or run any software, so I'm not sure if everything is working 100%. In the mean time, I might get started on my Mac SE. I believe that there might be a hard disk inside of it. There's no chance that it works, but it would be very interesting to view its contents if it is functional.
I want to emphasize that I am not an expert by any means with these machines, and that I intend for this post to serve as an informational piece regarding my own antics with a Macintosh Plus. Nothing that I have said is THE definitive way of doing anything. Please do your own research and be safe when working on these things!
Here's a list of handy resources and videos that I've found while working on the Macintosh Plus that are much more informative and better than anything I could write: