Cleaning a Disobedient NES Controller
How am I supposed to beat Dracula?
 Toolbox Toolbox |
November 15, 2023 |

If you've read my previous post on Castlevania, I've been knee-deep in some vampire-slaying action these days. I am glad to report that I have defeated Dracula's fire-breathing crotch demon form in Bloodlines (yes you read that correctly) in the time between now and then. After Bloodlines, I decided to return to Castlevania 3 on NES.
Sometimes, when I would decide to take a break, I had issues pausing the game. Of course, Castlevania 3 is an awesome game, which is enough of a reason to make pausing the game a challenge. However, the problem that I was encountering was physical. In order to pause the game I had to press the start button much harder than normal, and sometimes it would just unpause immediately! I ignored it for a while, since intermittent pausing doesn't negatively affect gameplay. Then I noticed that I wouldn't jump sometimes, even though I could swear that I pressed the A button! This is where I drew the line; something had to be done.
So, what do you do?
In my experience of fixing game consoles and controllers, I have found that literally just giving something a good clean can be all it takes to fix it. This is usually the case with controllers, which tend to get dirty from cheeto-fingers and gamer sweat. My NES controller wasn't that disgusting, but I did assume that it probably had 30ish years of dust and grime accumulation (assuming it hasn't been opened up and cleaned in the past at some point).
My main intension was to clean the contacts on the board with some 90% isopropyl alcohol, but I also figured that I should just thoroughly clean the controller while I was there.

The NES controller is an amazingly simple and easy controller to work on. There are only 6 small philips-head screws holding the back shell down. Most of these screws also go through the circuit board to hold it in place. There are no other screws in the controller, so once they are removed all you have to do is remove the layered components inside.
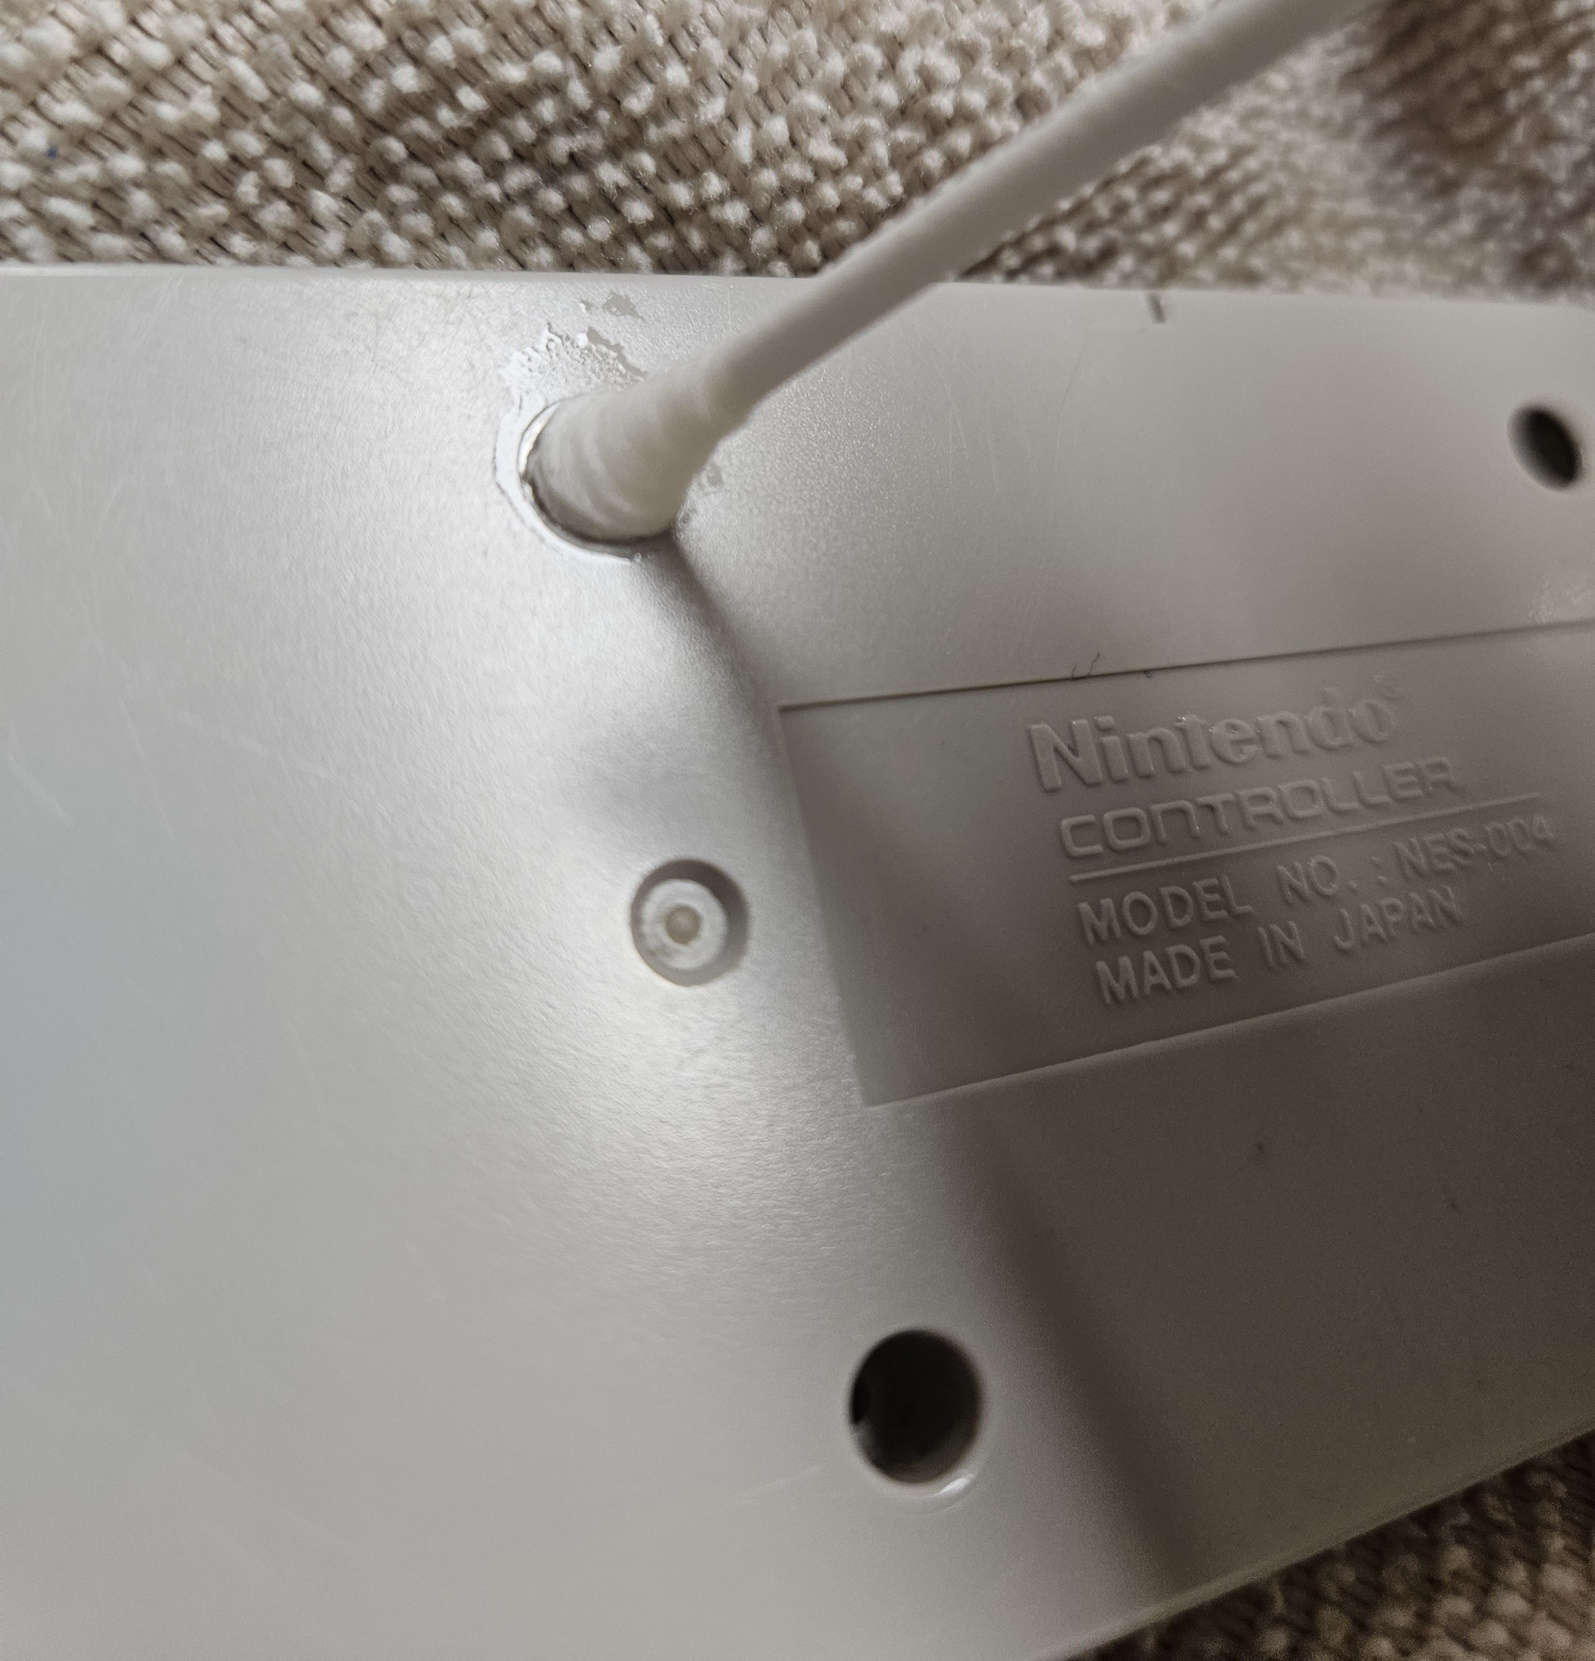
The cable that leads to the console is routed through some standoffs. To remove the board, you have to de-route the wires, then simply lift the board off of the pegs it rests on. Those wired connections to the board aren't strong enough to withstand extreme gaming sessions where you're throwing the controller across the room, so it would be wise to re-route the cable during reassembly so that yanking the cable won't rip it out of the board.
Beneath the circuit board, you'll see the rubber grommets that rest between the board and the buttons. These are what "spring" the buttons back up after being pressed. They also have black conductive pads which close circuits on the board when the button is pressed down. These pads are among the things that need to be cleaned in order to hopefully fix my buttons. You don't have to remove the grommets if you just want to clean the conductive pads, but I wanted to clean everything as a preventative measure and because I can. The grommets just lift out, but you'll want to do it with some caution. It is 40 year old rubber after all, and it can tear if you're not careful.
Once the grommets are removed, they are ready to be cleaned. I just dump the buttons and d-pad onto my workspace or into a container, as they just fall out once the grommets are out of their way.
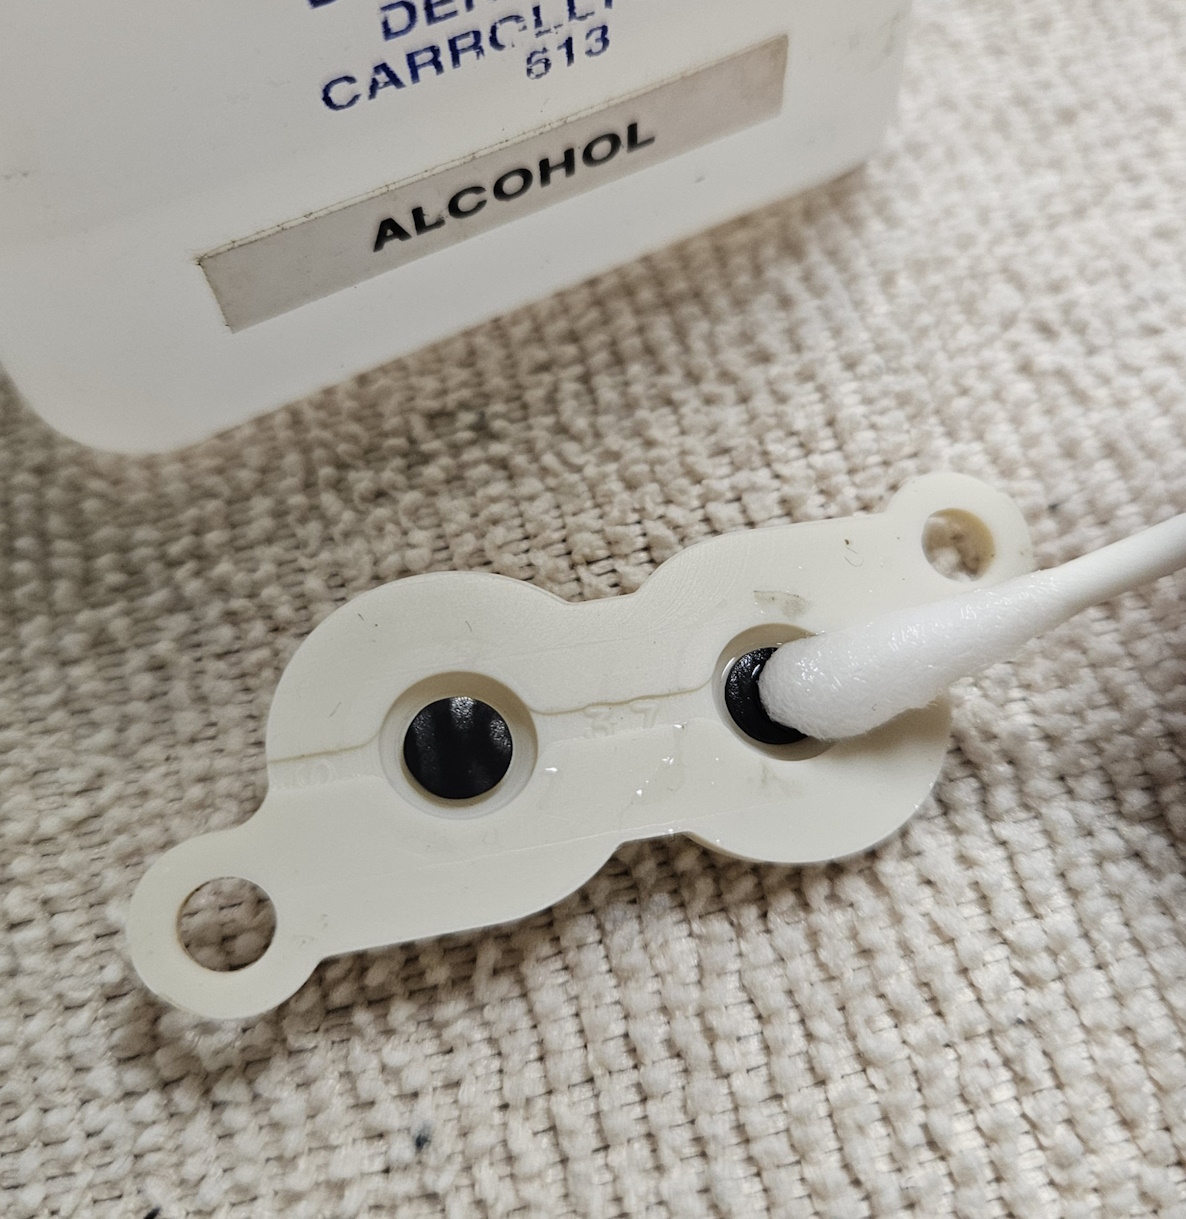
To clean the grommets, I just use a cotton swab wetted with rubbing alcohol. 90% isopropyl would be best, but it doesn't really matter that much. Use the cotton swab to clean the black conductive pad. You'll want to be a little abrasive, but still gentle. Remember, you don't want to tear or damage the rubber. While the images above show the grommet on a flat surface, I moreso did that to show what needs to be cleaned. You'll probably want to hold the grommet in your hand, using your fingers to help support the flexible pad while you clean it.
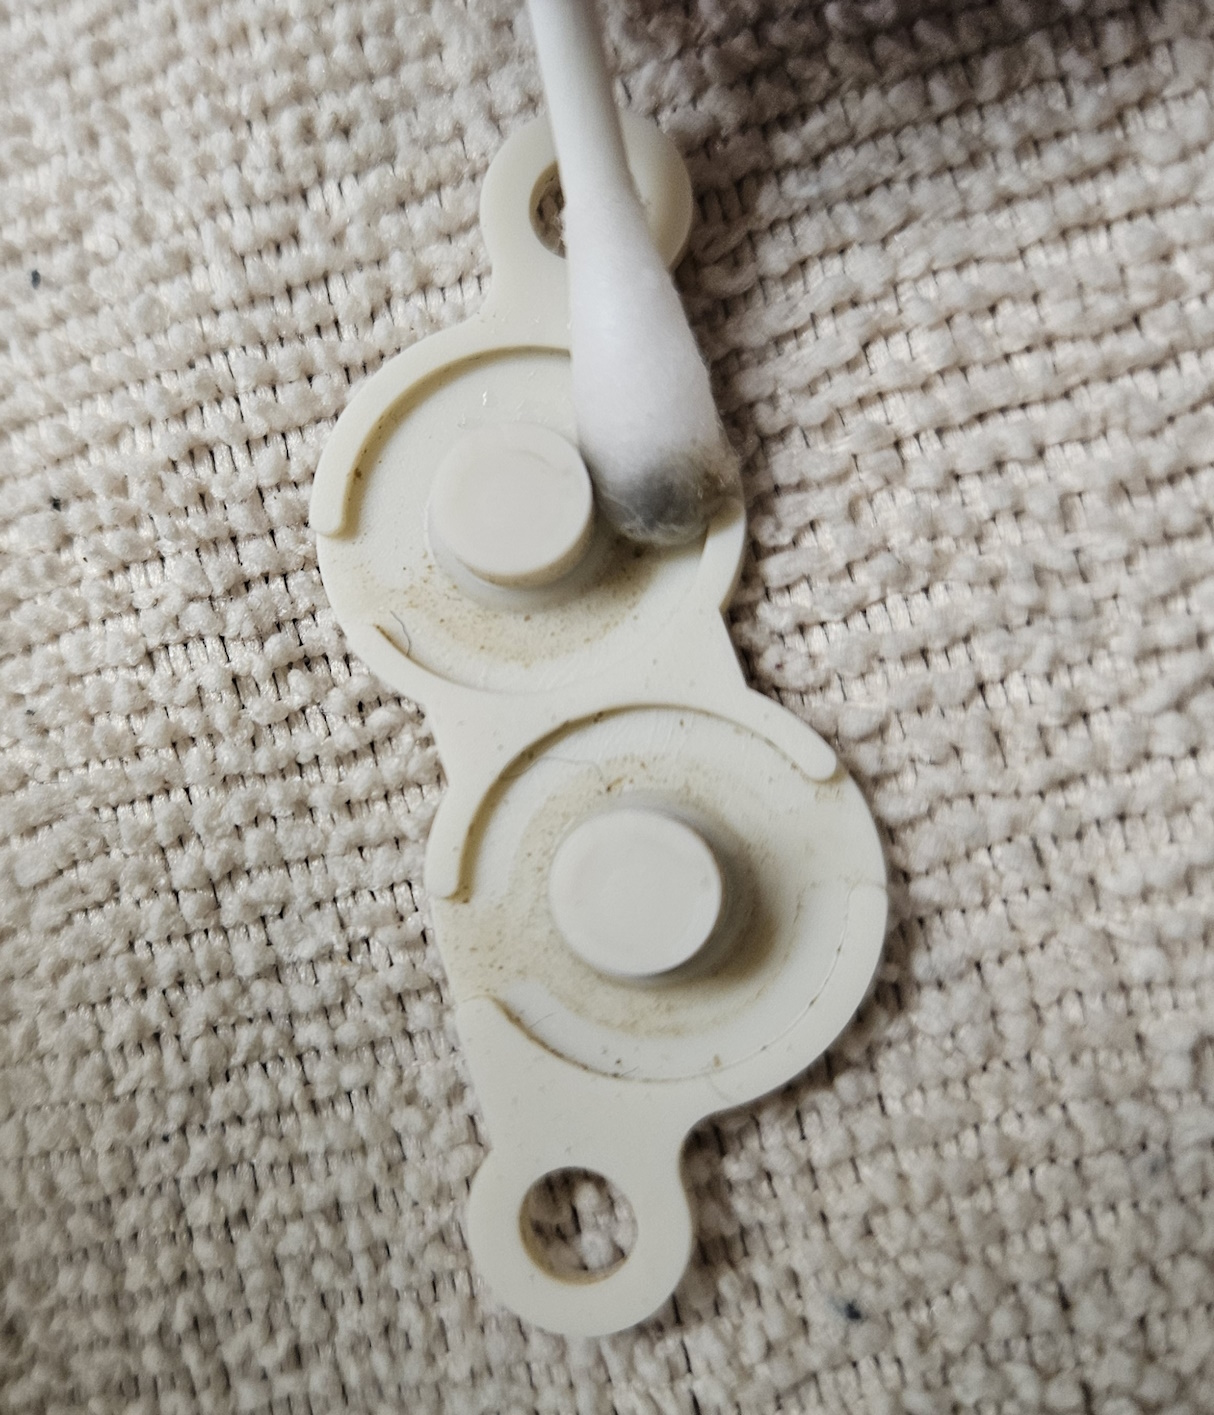
Your swab will turn black after cleaning. While you might be thinking that it's still dirty and that you need to continue cleaning, I wouldn't worry about it. As long as you get that surface layer off, it should be fine. I think that black is actually the pad itself, so you don't want to clean it too much.
I like to clean the rest of the pad-side of the grommets as well, since it touches the board and the board should be as clean as possible. I also like to clean the top of the grommets, as the top catches a lot of dust. This dust has the possibility of making its way to the pad below, which is why I clean it.
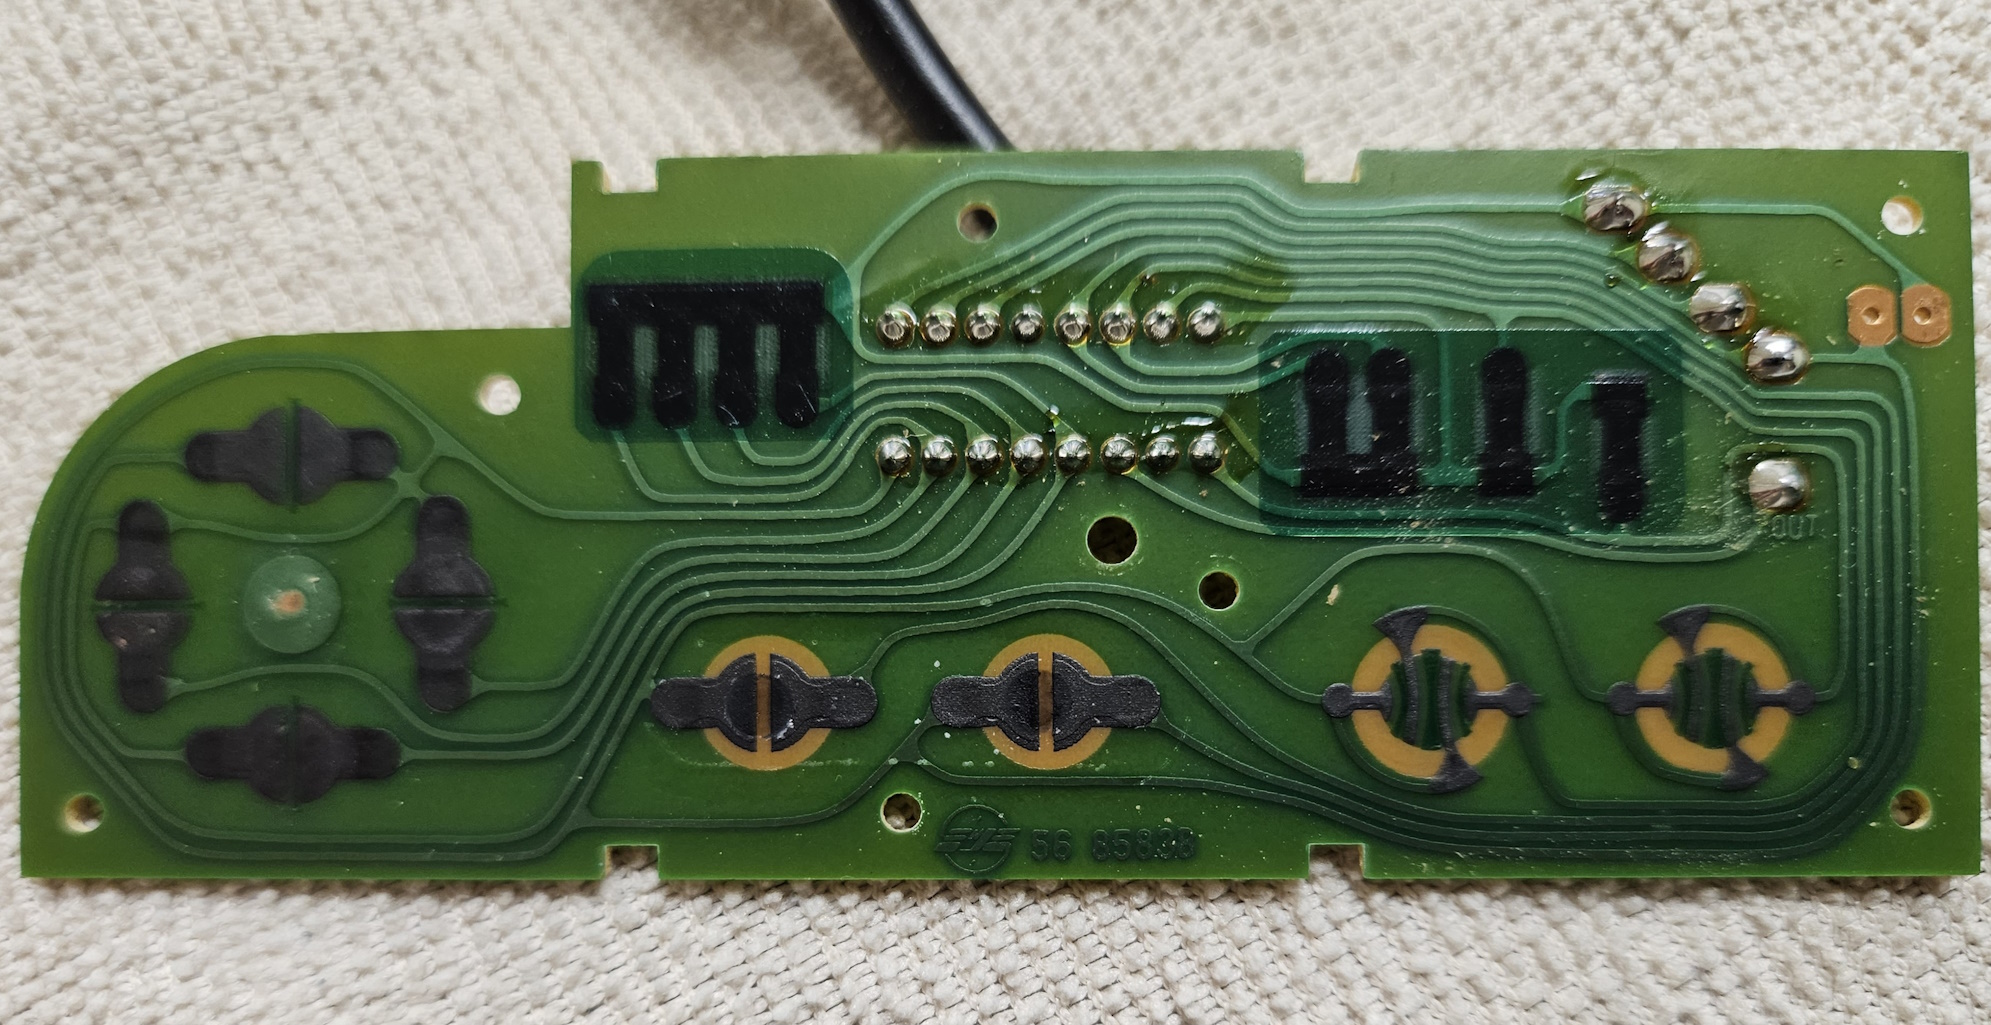
Now it's time for the board itself. You've likely already noticed the black pads that line up with the button layout of the controller. Simply clean those the same way you did with the conductive pads on the grommets. I'm weird, so I like to use a fresh swab for every contact. This might be overkill, but I do it to prevent contamination from a previous cleaning. You don't want the cable to be dangling, as the stress being applied to the wires might cause them to disconnect from the board. I would clean the circuit board on a flat surface or hang the cable on something.
It might be concerning if you see corrosion or unnaturally exposed copper on the pads. The pads under my d-pad seemed to have some copper spots, but it didn't seem to affect the button inputs at all. If you've cleaned the pads and the button(s) still don't work, then this might be culprit because the pads on the grommets might not be making proper contact with the pads on the board. Something like that might still be fixable, but not with the tools that I have. I wouldn't know where to start.
You might also notice some brownish sticky substance near the solder joints. Don't worry, this is normal. You can clean it if you want, but I don't think it affects anything. It's just excess flux from when the board was originally built.

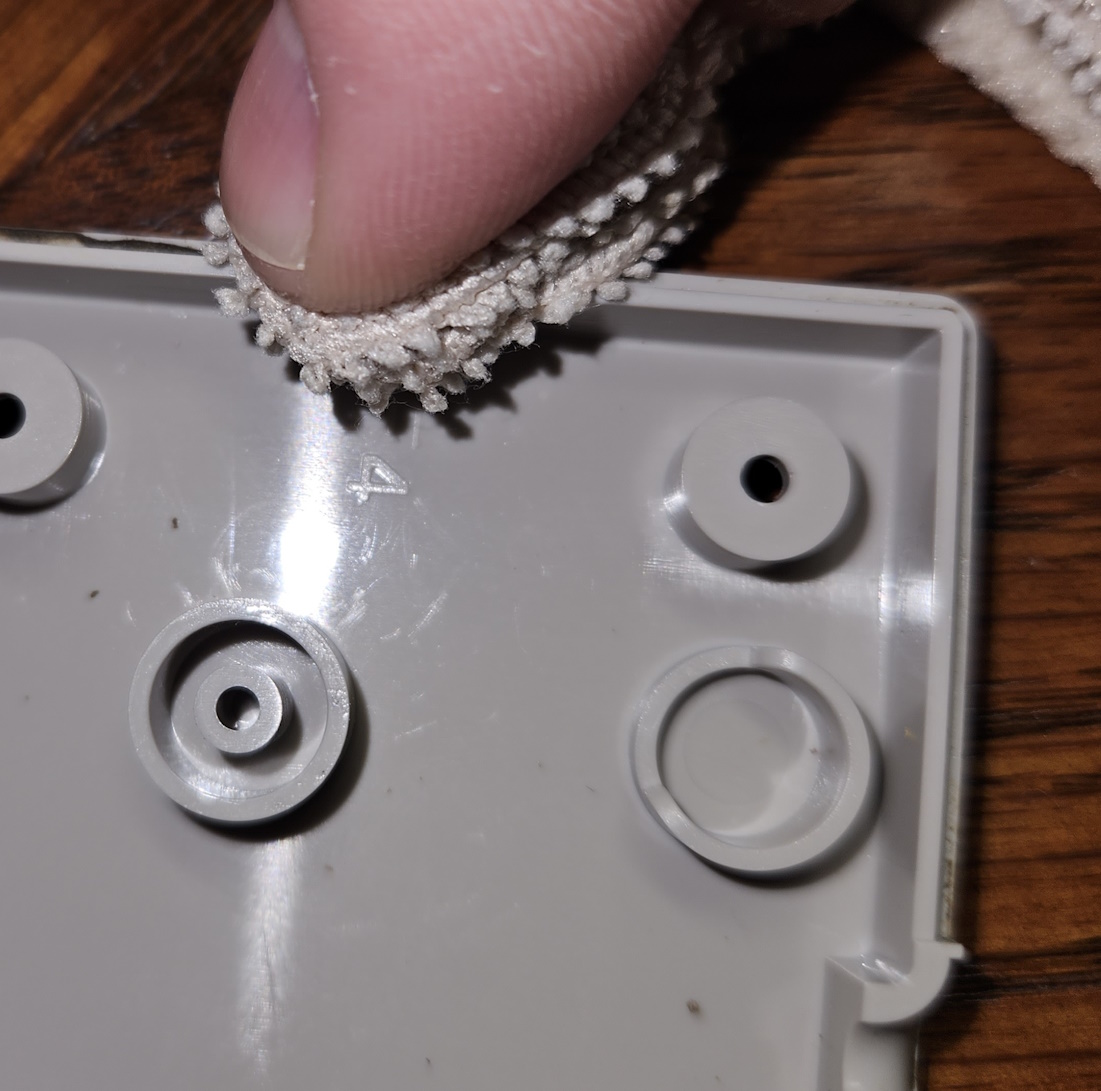

Cleaning the outer shell and buttons is pretty straight forward. Spray some windex or soapy water on that shit and wipe it down with a rag. I like to use the toothbrush (sometimes in tandem with a pointy object) for cleaning the text on the back of the controller, and for hard to reach areas. I was feeling pretty thorough, so I made sure to clean the layer of gamer-grime (typically dead skin and human greases) that had collected between the two halves of the controller. With the controller apart, it is much easier to use a rag or something to wipe it off. Sometimes something more abrasive like a toothbrush is needed for that persistent grime.
Once you've cleaned what needed cleaning, the controller is then ready to be put back together and put to work. Reassembly is straight forward, just go back the way you came in.

With my controller clean and reassembled, I was able to get back in the game and comfortably defeat Dracula! The "A" and "Start" buttons on my controller now work like new and all it took was a bit of rubbing alcohol and time. If your controller has problems, please don't throw it away without attempting to fix it first.